One of the main focus for Wyliodrin is education. We founded this company due to our desire to make the Internet of Things accessible to educators and students of all ages and all backgrounds. In our journey we got to teach and work with many different people, both teachers and students, coming from different fields of study. Therefore, we had the chance to experiment with working with various IoT hardware platforms, most of them created especially to be used in education.
One of the biggest challenges in this regards was to find the appropriate peripherals, the focus being the way they are connected to the main board, be it a simple Arduino device or a more complex embedded computer. In case you are in the same situation of having to choose between the large variety of peripherals for your projects and courses, here is a short list of the peripherals that we got to work with together with our opinion on their advantages and disadvantages.
Breadboard and jumper wires
The first option is to use a simple breadboard and jumper wires with standard peripherals, such as photoresistors or LEDs. This is one of the cheapest options. However, if you use these peripherals intensively, the breadboard and the connectors can damage quite quickly. This is an important aspect to keep this in mind when computing the price for such a kit.

In order to use these components students need to clearly understand how the electrical components have to be connected, otherwise, they risk producing a short circuit. This is why beginners can find all these peripherals intimidating and be reluctant to try different experiments. What is more, if the project gets a bit complex, it is also difficult to debug. For a teacher working with a large group of students, debugging the projects can get overwhelming. In addition, students will focus on how to connect the peripherals, rather than controlling them.
This is why we recommend using such kits when dealing with students who have experience in working with IoT systems or when your main purpose is to focus on the electrical aspect of the project. If you aim to give your students an introduction into building a smart device and especially when working with a large group of students, we recommend you use some other kind of devices.
Sensors Module Starter Kit
There are plenty of sensors meant to abstract the electronics principle in connecting them. They are small PCBs comprising the entire circuit necessary to connect the peripheral. For instance, in the case of an LED, the peripheral consists of both the LED and the resistance and for a photoresistor, the entire voltage divider is built in the sensors. The component usually exposes pins which are directly connected to the device’s pins.
On Amazon you can find a large variety of such kits.
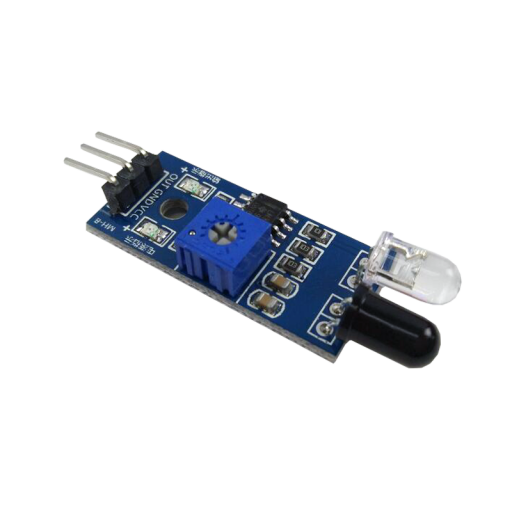
We recommend these sensors for beginners and especially students who have no electronics background as they can focus on building the project rather than spending time on how to connect the components among them and trying to understand notions such as a voltage divider.
On the other hand, if students are not careful, they can connect the pins in a bad manner or even break the pins. This is why the risk of frying the sensors still exists.
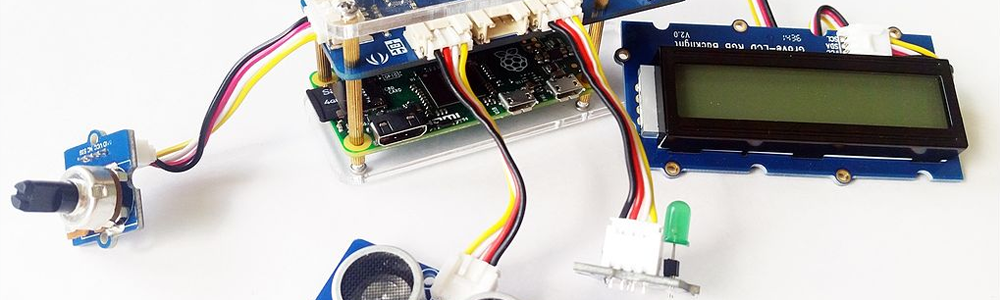
Grove Sensors
Grove sensors are similar to the previous sensors, but they expose a connector socket, which does not allow the peripheral to be connected in an incorrect manner.
For beginners and students, we recommend these type of peripherals. What is more, the connector is pretty resistant. On the other hand, this is a more expensive option since you also need a shield on top of the device.
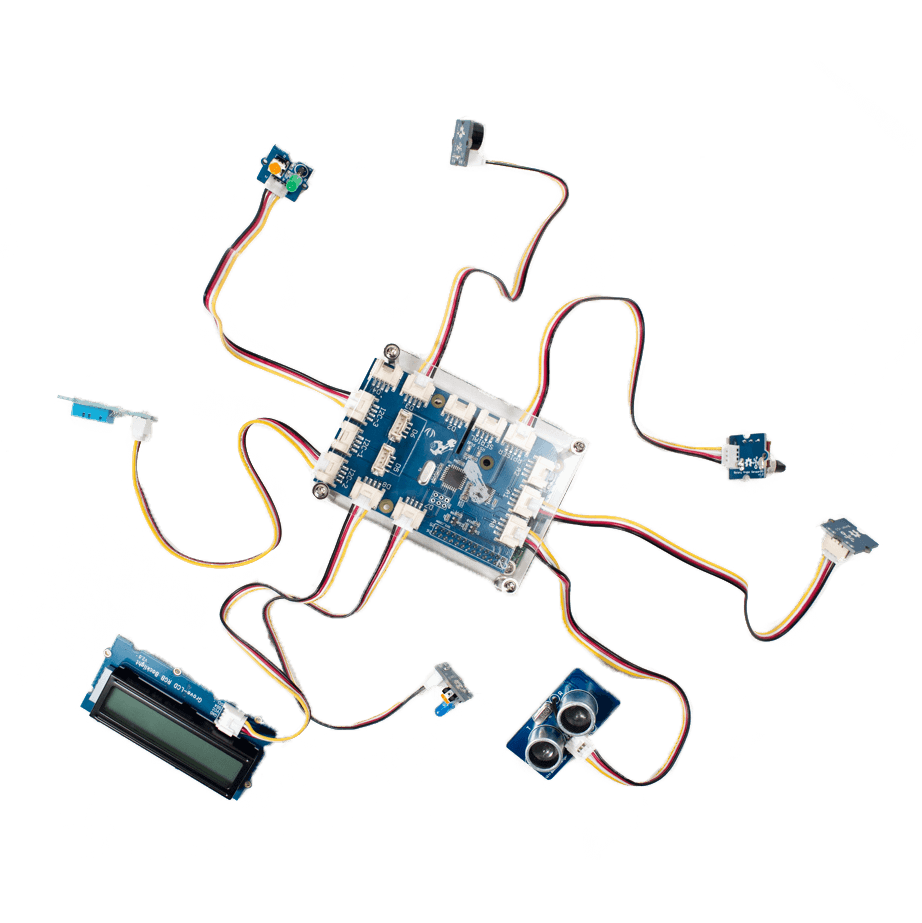
The grove sensors and shields are produced by Seeed Studio where you can also purchase different kits for your classroom.